Created February 2021
This page explains the ways you can increase the text size in macOS Mojave for Apple Mac computers. By changing the screen resolution of your machine to a lower size you can increase the size of text throughout the operating system as well as making all the other interface elements. such as buttons and icons, bigger.
You can also adjust the text size of file names, folder labels and icons shown in the Finder application. Steps for changing these settings can be found at the end of this article.
In this article
Apple computers with Retina displays
Apple computers with non-Retina displays
Changing the font size for file and folder names
Changing the text size for icon and folder names on the desktop
Apple computers with Retina displays
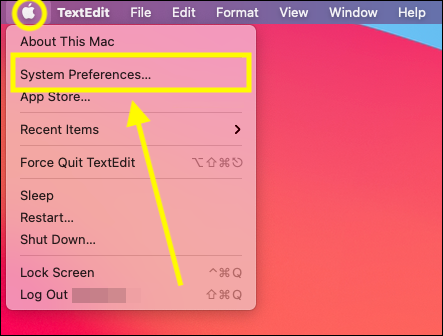
- Select the Apple icon
 in the top left corner of the screen.
 - Select System Preferences from the menu.
- In the System Preferences window, select Displays.

- On the Displays screen, make sure the Display tab is selected.
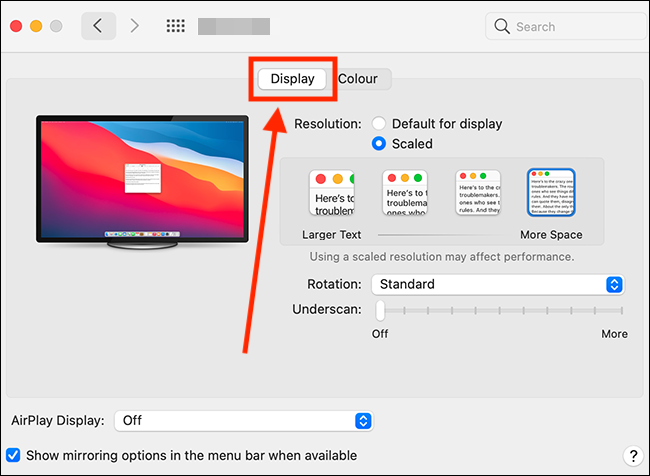
- Select the Scaled checkbox.

- Select the Larger Text option.

- When you select Larger Text, you will see a message saying “Are you sure you want to switch to this scaled resolution? When using this scaled resolution, some applications may not fit entirely on screen.” Select OK to confirm.
- When you are finished, click the Close (red) button in the top left corner of the System Preferences window.
Apple computers with non-Retina displays
- Select the Apple icon in the top left corner of the screen..
- Select System Preferences from the menu.
- On the System Preferences window, select Displays.
- On the Displays screen, make sure the Display tab is selected.
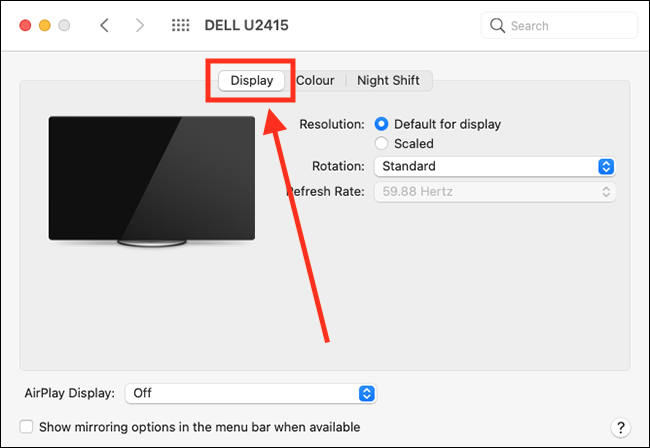
- Select the Scaled checkbox.

- The typical display resolution is 1366 × 768 although this depends on the type of display you are using with your computer - yours may have a different setting.To make text bigger, change your resolution to a value lower than the current setting.

- When you are finished, click the Close (red) button in the top left corner of the System Preferences window.
Changing the font size for file and folder names
This section explains the ways you can change both the text and icon size for all files and folders including those on the desktop on your Mac.
To change the text size for file and folder names in Finder
- Open Finder
 .
. - Make sure you have a Finder window visible (press Cmd + N to open a new window if necessary).
- Note: Finder has multiple ways of displaying files and folders.
The Finder view options are as follows:
 Icon view
 List view
 Column view
 Cover Flow
- Note: If your Finder window is narrow, you will only see the icon for the current view. Select this icon and choose from the options to change to a different view.
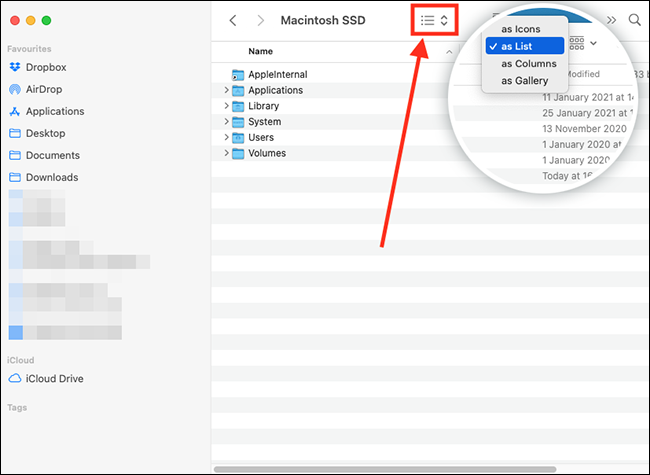
The following instructions will show you the steps for changing the text size in ‘List’ view. Note: You will need to repeat these steps to change the text size for each of the other view options shown above.
- Select the List view button .
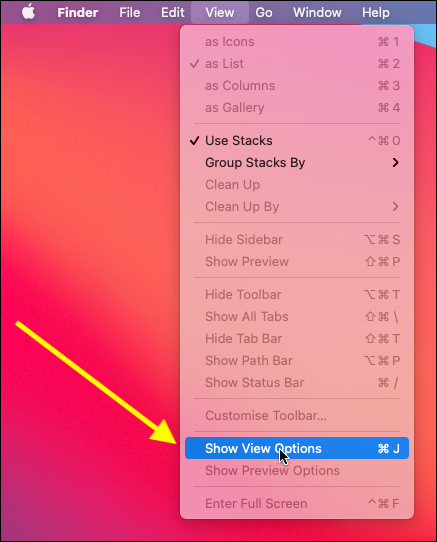
- Select View from the Menu Bar, then select Show View Options.

- In the View Options window, select the drop-down menu for Text size and choose a font size up to 16pt. You can also make the Icon size smaller or larger by selecting a small or large icon.

- Select Use as Defaults to apply these settings to all folders when Finder is in List view. If you don’t click Use as Defaults, your new setting will only apply to the files in the current folder. Note: The Use as Defaults button will become active when you change one of the settings.

- When you are finished, click the Close (red) button in the top left corner of the window.
Changing the text size for icon and folder names on the desktop
- Select Finder in the dock .
- Now press Cmd + W repeatedly until any open Finder windows are closed - this enables access the desktop's settings rather than Finder's window settings.
- When all Finder windows are closed, select View from the Menu Bar, then select Show View Options.
- In the View Options window, select the drop-down menu for Text size and choose a font size up to 16pt. You can also make the Icon size smaller or larger by selecting a small or large icon. Tip: To change the space between icons on the desktop, adjust the slider for Grid spacing.

- When you are finished, click the Close (red) button in the top left corner of the System Preferences window.
Note: If this does not work it could be because someone else manages your computer settings (an IT department or administrator). If this is the case, you will need to contact them to access these settings or for further help.